
 EN
EN
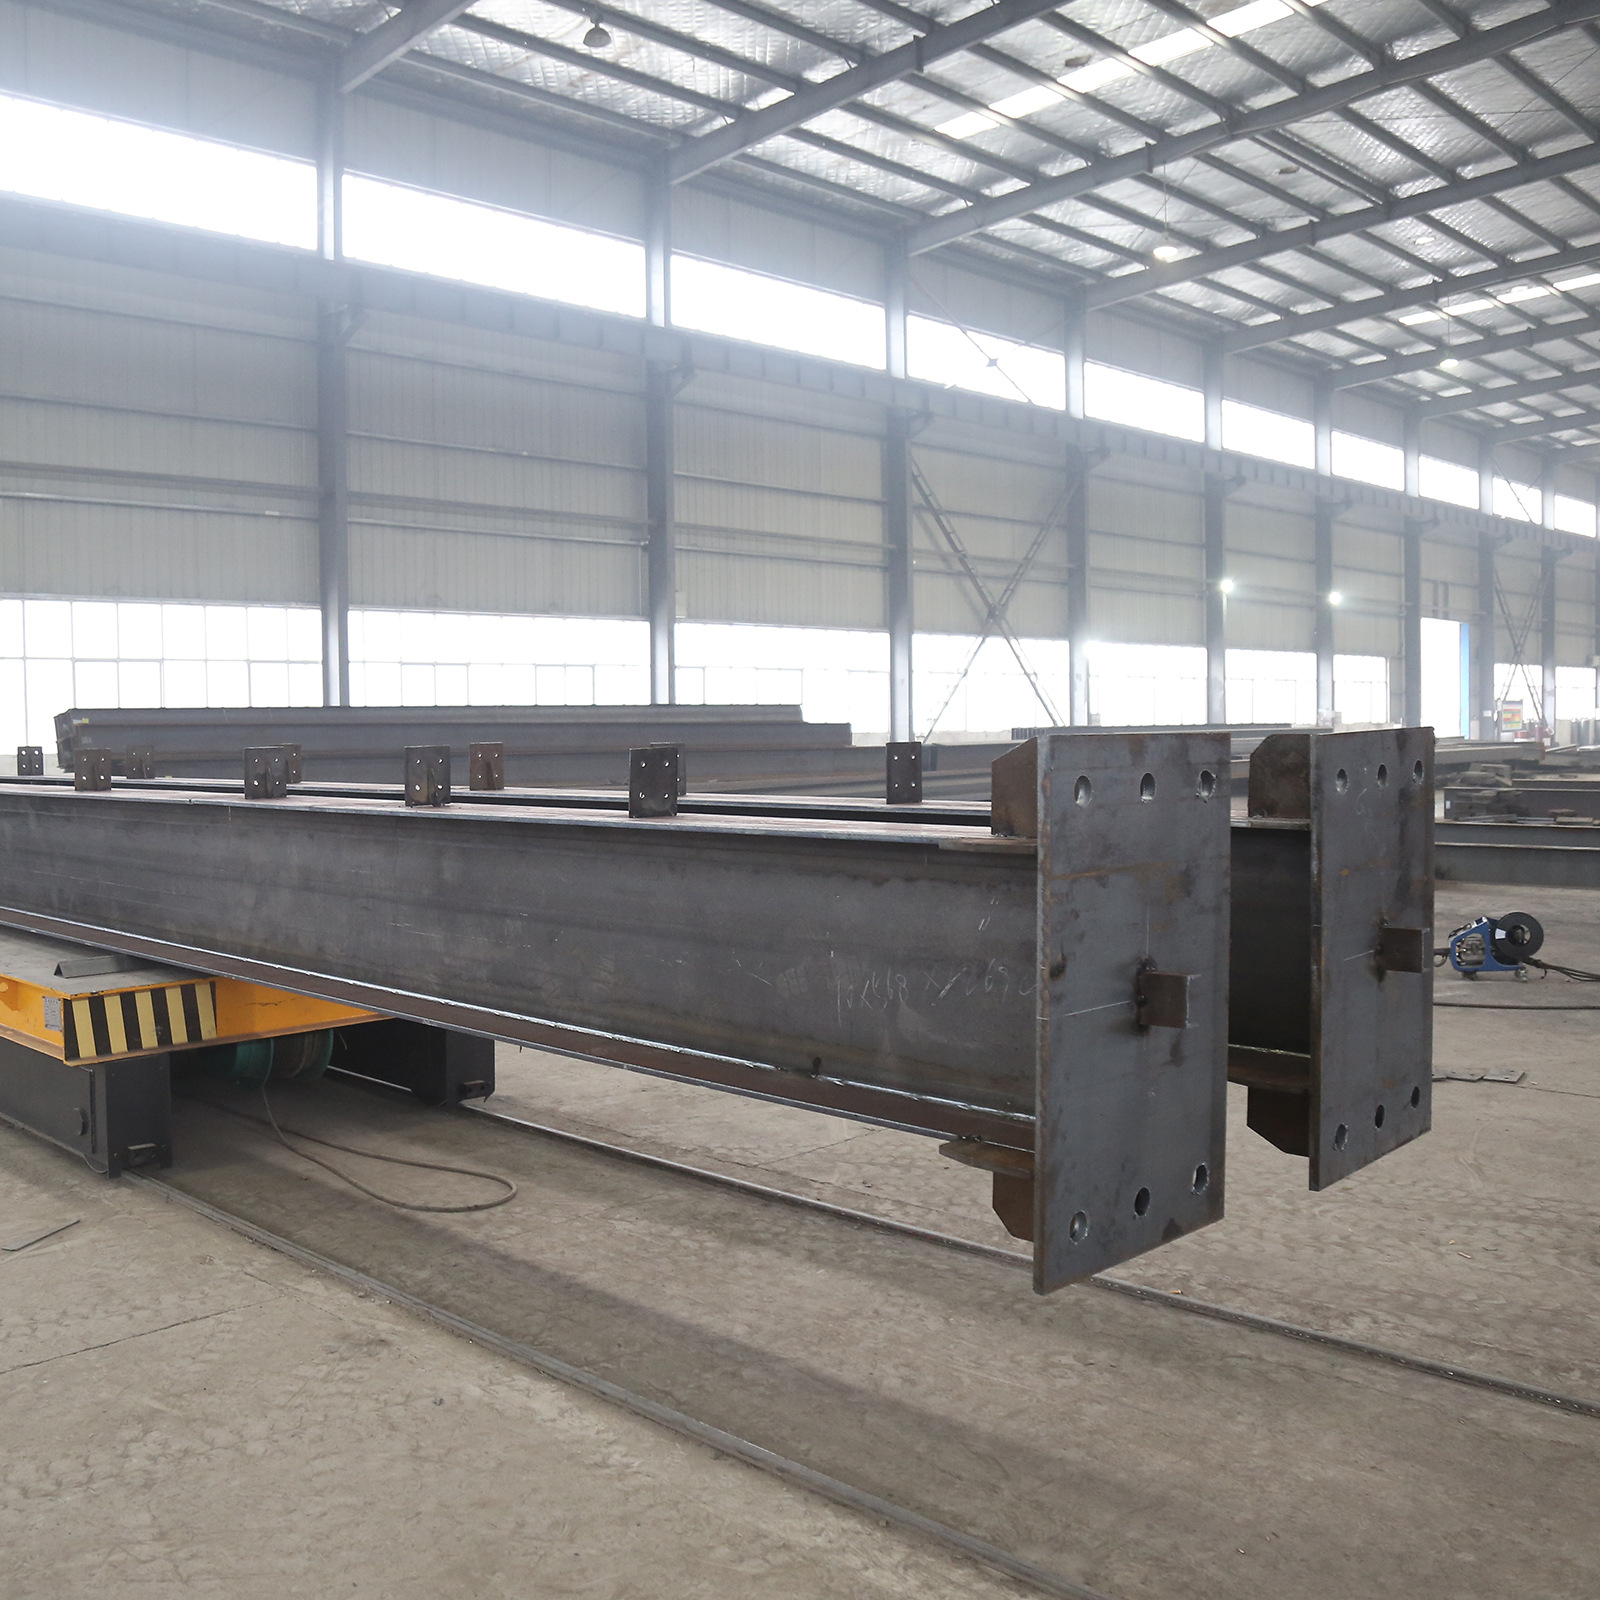
A logistics warehouse expansion in Southeast Asia ran into trouble two weeks into steel erection. The first bay of steel columns passed visual inspection, but when roof purlins arrived for connection, bolt holes missed alignment by 12 millimeters — enough to stall the entire framing sequence. The root cause traced back to rushed base plate leveling and skipping a post-grout verticality check. Rectifying those steel columns required three days of unplanned work and added $4,200 in labor and crane standby costs.
Column verticality is not a cosmetic concern. A leaning steel column transfers eccentric loads into beam connections, foundation anchor bolts, and bracing systems in ways the structural design never anticipated. Getting verticality right at installation prevents cascading problems through every subsequent trade.
Why Steel Columns Lose Verticality During Installation
Foundation and Base Plate Issues
The most common source of column misalignment starts below ground level. Anchor bolt groups cast into concrete foundations rarely achieve perfect positioning — tolerances of ±3 to ±5 millimeters are typical even with template-guided placement. When a steel column base plate sits on an uneven foundation surface, the column tilts before the first bolt is tightened.
Leveling nuts under the base plate provide the primary adjustment mechanism during erection. Each nut must be set to a surveyed elevation using a laser level or optical level referenced to a site benchmark. Skipping this step and relying on shim packs alone often results in columns that drift out of plumb as grout cures unevenly beneath the base plate. Non-shrink grout poured after final alignment locks the column position permanently — but only if the column was correctly positioned before the pour.
Erection Sequence and Temporary Bracing Effects
Erecting steel columns in isolation — one at a time without connecting beams — leaves each column vulnerable to wind, equipment vibration, and thermal expansion. A column that measures perfectly plumb at 8 a.m. can shift 5–8 millimeters by mid-afternoon simply from differential solar heating of the steel surface.
The erection sequence must pair columns with their connecting beams as quickly as practical, creating rigid frames that resist movement. Temporary guy cables or adjustable pipe braces anchored to the ground provide stability until permanent connections are completed. Each brace requires tension monitoring — overtightening a single guy cable can pull a column off plumb as effectively as leaving it unbraced.
Step-by-Step Verification of Steel Column Verticality
Tool Selection and Setup
Two theodolites positioned at 90 degrees to each other provide the standard setup for precise verticality measurement. Each instrument must be located at a distance equal to at least 1.5 times the column height to minimize angular error. A laser plumb device offers an alternative for interior columns where theodolite sight lines face obstructions.
Before measuring, the column must be marked with target points at both the base and the top on two perpendicular faces. These reference marks should be applied in the fabrication shop based on the column's theoretical centerline — field-applied marks introduce cumulative error from the start.
The American Institute of Steel Construction (AISC) Code of Standard Practice specifies an allowable erection tolerance of 1:500 for individual column plumbness, meaning a 10-meter steel column may deviate up to 20 millimeters from vertical. Tighter tolerances specified in the project's erection drawings override this default.
Measurement and Correction Procedure
The sequence follows a structured pattern. First, check the base plate level using a machinist's level — resolving foundation unevenness before attempting verticality correction avoids fighting two problems at once. Second, sight the column through the primary theodolite and read the deviation at the top mark relative to the base mark. Third, repeat with the secondary theodolite on the perpendicular face.
Correction involves adjusting the leveling nuts beneath the base plate — turning a nut one full rotation on a standard M30 thread changes the column tip position by approximately 3.5 millimeters at a 10-meter height. Multiple small adjustments with re-measurement between each produce more reliable results than single large corrections.
After achieving plumb within tolerance on both axes, the base plate nuts are locked, and column-to-beam connections are fully tightened. A final verification pass before grouting confirms nothing shifted during bolt tightening.
Practical Prevention Strategies
Pre-Installation Foundation Verification
Before any steel column arrives on site, the foundation must be surveyed. Anchor bolt positions get checked against a template or surveyed grid. Bolt projection heights are measured and any that are too short or too long are flagged for remediation. The concrete surface around each bolt group is checked for flatness — high spots ground down, low spots noted for extra grout thickness. This one-day verification process prevents weeks of field corrections.
Documentation and Sign-Off Protocol
Each column's final verticality reading on both axes, along with the date, time, ambient temperature, and theodolite serial number, gets recorded on an erection inspection sheet. This documentation serves two purposes: it proves compliance for the project quality file, and it provides baseline data for any future investigation if alignment-related issues emerge during later construction phases.
Frequently Asked Questions
What tools are used to check steel column verticality?
Two theodolites positioned at 90-degree separation provide the primary measurement method, supplemented by laser plumb devices for columns with obstructed sight lines. A machinist's level verifies base plate flatness before verticality measurement begins, while calibrated torque wrenches confirm that leveling nuts maintain consistent tension throughout the adjustment sequence.
How much deviation is acceptable for a steel column?
AISC Code of Standard Practice specifies 1:500 as the default allowable plumbness deviation — 20 millimeters for a 10-meter column. Project-specific erection drawings may impose tighter tolerances, particularly for columns supporting crane rails, precision equipment, or curtain wall attachment points where cumulative errors affect multiple building systems.
Why do steel columns go out of plumb after initial installation?
Thermal expansion from direct sunlight can shift column position by 5–8 millimeters within hours. Foundation settlement during grout curing, wind loads on unbraced columns, and vibration from nearby equipment all contribute to post-installation movement. Temporary bracing with monitored tension prevents most environmental drift until permanent framing connections lock the column position.
When should column verticality be measured during installation?
Measurement occurs at three critical points: immediately after the column is set on leveling nuts and temporarily braced, again after connecting beams are bolted to create a rigid frame, and a final time just before non-shrink grout is poured under the base plate. Skipping the beam-connected check is a common error — bolt tightening often shifts column position slightly.
Can a column be corrected after grout has been poured?
Correcting a grouted column is expensive and time-consuming. The base plate must be unbolted, grout chipped away, and the entire leveling sequence repeated. In severe cases, anchor bolts require replacement. The cost of proper verification before grouting is a small fraction of post-grout correction, which can exceed $2,000 per column in labor, equipment, and material costs.
Which standards govern steel column erection tolerances?
AISC 303-22 (Code of Standard Practice for Steel Buildings and Bridges) provides the primary North American tolerance framework. EN 1090-2 covers execution requirements in European markets. ISO 10721-2 addresses steel structures fabrication and erection tolerances for international projects. Project specifications always take precedence over default code values.